Screen Printing Machine for Flat and Cylindrical Products
Multi functions screen printing machine
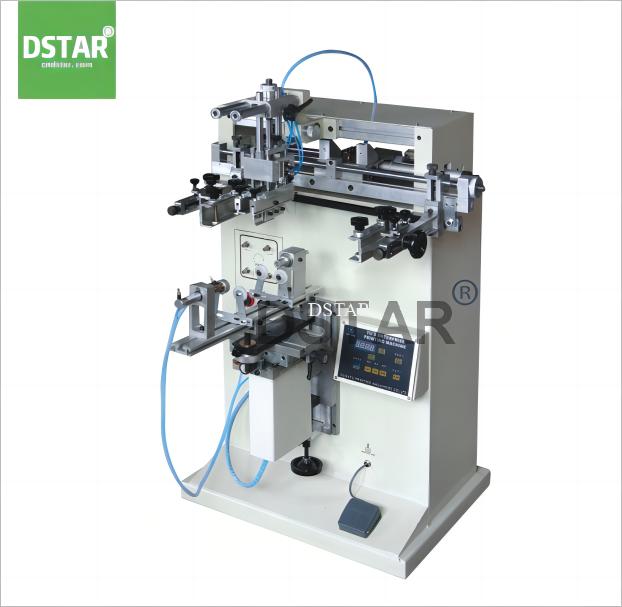

Product:Screen printing machine for flat and cylindrical products
Model:DX-300
Printing color:1 color
Maximum printing size:Ф90×250mm 260×200mm
Screen printing speed:25 times/minute
Power:AC220V/50Hz 60W
Air supply:5-7 Bar
Machine size:L96*W90*H138cm
N.W:120KGS
- servo drive
- PLC system
- Touch screen panel(multi languages)
- color sensor positioning (for multicolor printing)


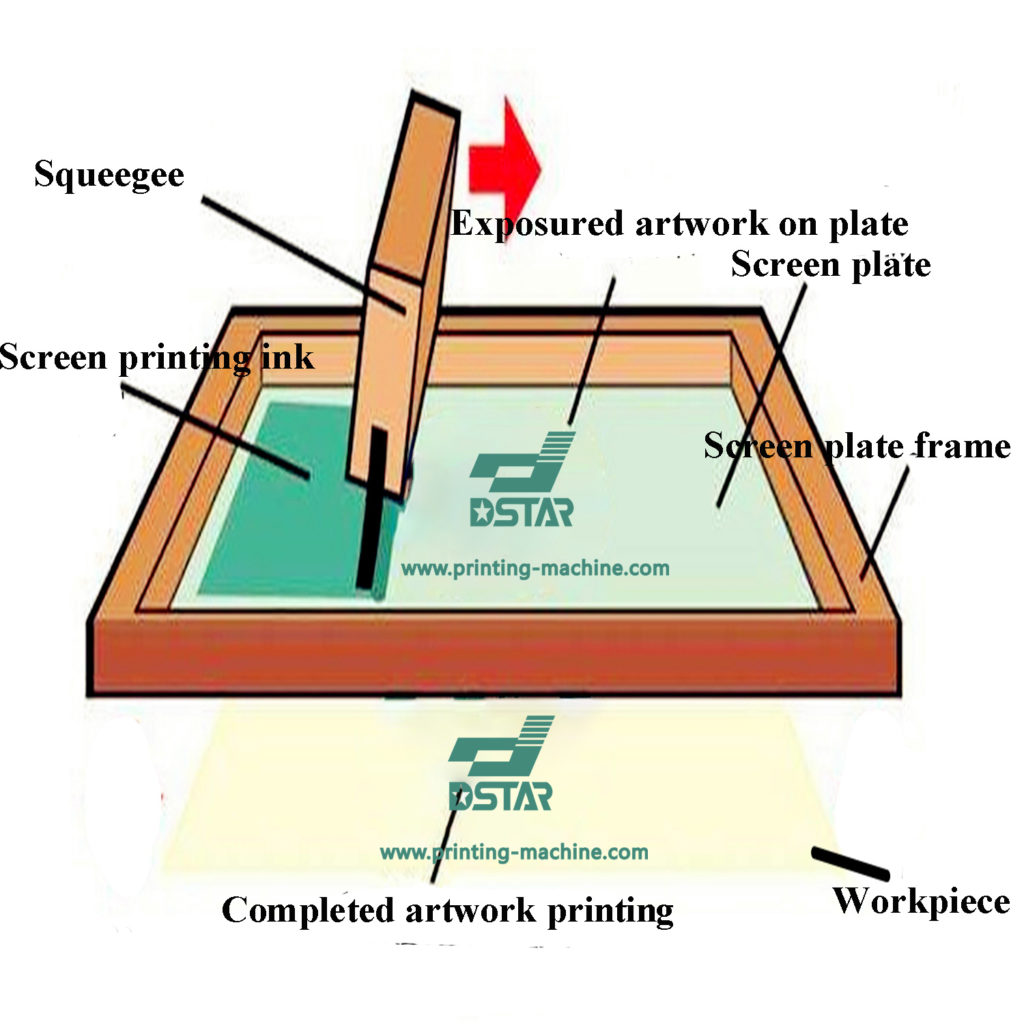
Screen printing, also known as silk screening or serigraphy, is a printing technique that involves using a mesh screen to transfer ink onto a substrate (such as fabric, paper, or plastic). Here’s an overview of how a basic screen printing machine works:
Components of a Screen Printing Machine:
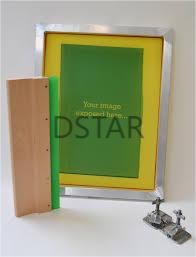
- Screen Frame:
- The screen frame is usually made of aluminum or wood, and it holds the mesh screen tightly. The screen is typically made of silk, polyester, or nylon.
- Mesh Screen:
- The mesh screen is stretched tightly over the screen frame. The mesh openings allow ink to pass through onto the substrate.
- Stencil:
- A stencil is created on the mesh screen to define the areas through which ink can pass. This can be achieved by blocking out certain parts of the mesh with impermeable materials (e.g., emulsion or film).
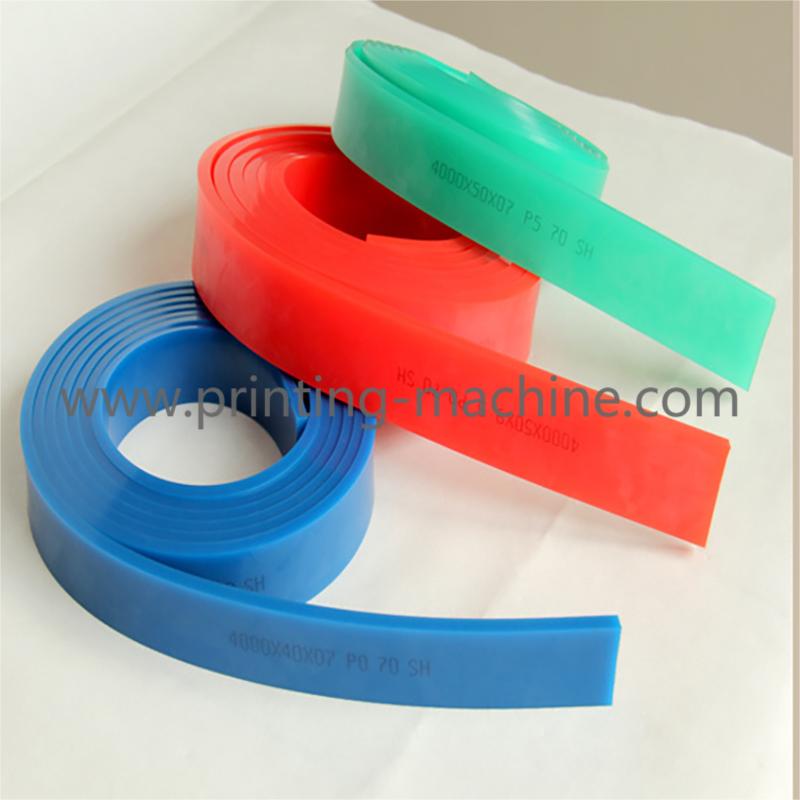
- Squeegee:
- The squeegee is a rubber or rubber-like blade that is used to push the ink through the open areas of the mesh screen and onto the substrate. It is attached to a moving arm.
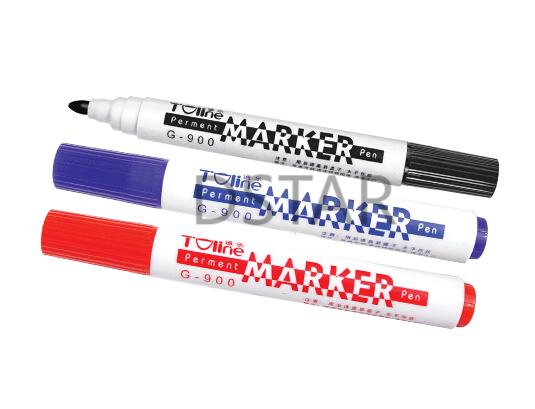
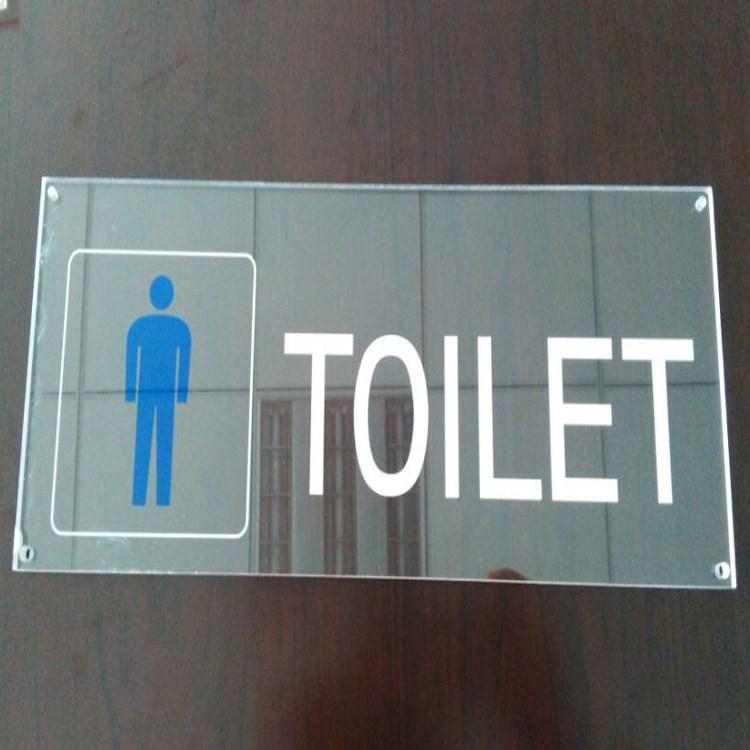
- Substrate:
- The substrate is the material onto which the ink is transferred. It can be fabric, paper, plastic, metal, or other materials.
Steps in the Screen Printing Process:
- Preparation of the Screen:
- Coat the mesh screen with a light-sensitive emulsion. When the emulsion dries, a film or stencil is applied to the screen. Areas not covered by the stencil remain permeable, allowing ink to pass through.
- Exposure:
- Expose the screen to light, hardening the emulsion in areas not covered by the stencil. The areas covered by the stencil remain soft and can be washed away during the next step.
- Washing:
- Wash away the unhardened emulsion, leaving behind open areas on the mesh corresponding to the stencil design.
- Setup:
- Set up the screen on the screen printing machine, ensuring proper alignment and registration with the substrate.
- Ink Application:
- Place the substrate underneath the screen. Ink is poured onto the top of the screen, and the squeegee is used to evenly spread the ink across the open areas of the stencil, forcing it through the mesh onto the substrate.
- Printing:
- The squeegee is moved across the screen, applying even pressure to transfer the ink onto the substrate. The substrate is then moved away, and the print is complete.
- Drying or Curing:
- After printing, the ink on the substrate needs to be dried or cured. This can involve air drying, heat drying, or using UV light, depending on the type of ink used.
- Repeat:
- The process is repeated for each color in a multicolor design. Each color requires a separate screen and setup.
Screen printing is a versatile technique suitable for various materials and is commonly used in the production of textiles, posters, labels, decals, and more. The process allows for high-quality, durable prints with vibrant colors.